owl

Background Image - Ladybug

Follow Me Frame

Follow Me Frame

More to see

More to see

Translation Button

Welcome ladybug

Welcome ladybug

Thanks for stopping by

Thanks for stopping by. Hope you enjoy your stay!

I've noticed that I have visitors from all over the world. To make your stay more enjoyable, I have added a "translator" for you.


Showing posts with label MS - Quilted. Show all posts

Tuesday, June 21, 2011

Father's Day Card

Hiya. Well, something else should've been added to the video below ---- forgetting to post my Father's Day cards. LOL

So, here they are. Better late than never, right? LOL LOL

Made this card for my step-FIL. He loves to fish, so it was just apropos to make a li’l fisherman.

Inside

Tools/Items:-

Cricut Imagine
Cricut Cartridge – Everyday Paper Dolls
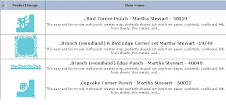
Martha Stewart Punch Around the Page – Quilted
Glue – regular; ATG; Zig Two Way
Cardstock – patterned; white (for the Imagine)
Corner rounder
Popdots
Baker’s Twine – fishing line, fish basket handle
Stampin’ Up Ink – Creamy Caramel
Brad – for closure on fish basket

Created totally on the Cricut Imagine, floodfilling the layers using RGB codes. Inked all the edges and parts of the layers to allow the cut lines to show thru. Used the border punch on the inside design edge and the corner punch on the sentiment. Sentiments were computer-generated.


Wednesday, November 10, 2010

Martha Stewart Punch All Over the Page

Well, I had a lot of fun playing w/ my new toy that Martha Stewart Crafts sent to me. :-)

Instead of making cards this time, I decided to just make card toppers, giving you some different ideas.

Most of the designs, w/ the exception of one, started by using a Punch Around the Page on a 3 ¼” square, layered onto a 3 ½” square. Each time, I used the Rose Window Punch All Over the Page punch in the centre. Here are the particulars:-

Punch Around the Page: Snow Flurry
Centre:- Poinsettia embellie


Punch Around the Page: Swirling Lace (the one that 10 lucky gals won!) :-)
Centre:- flower w/ brad


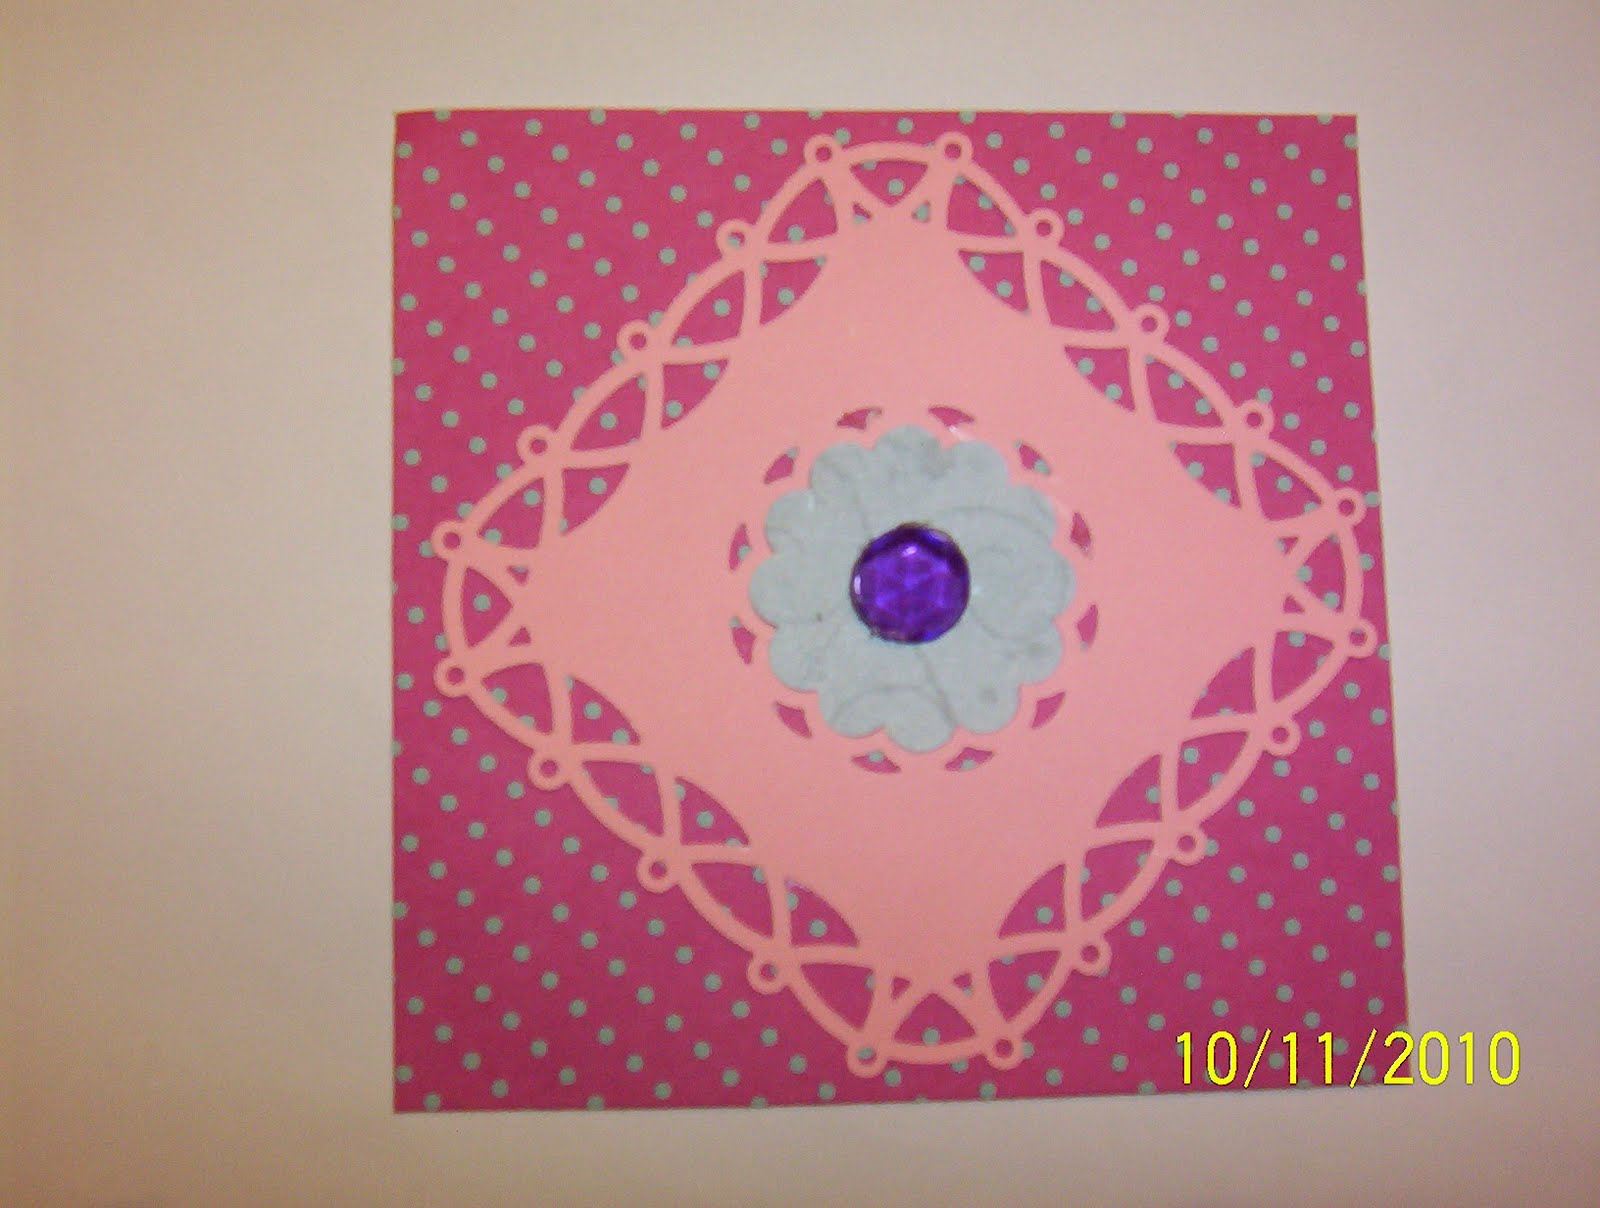
Punch Around the Page: Scallop 3-dot
Turned it on its side (to form a diamond)
Centre:- design on patterned paper

See below for the patterned paper I started with. Depending on what patterned paper you use, you can get some neat effects.


Here, I’m showing how easy it was to create a row of 2 punch-outs on 2 rows; hence 4 punch-outs.
Centre: glittery snowflakes
Punch Around the Page: Quilted
Centre:- used the cutout from the 4 punch-outs (above), topping w/ a rhinestone


It was the first time I noticed that there was a different looking corner on the punch set. Even tho the instructions read:- Position top over the paper so that the flat corner matches up w/ the corresponding one on the base, it really didn’t sink in what that meant. Now I know. LOL
Here’s a pic to explain it a li’l bit better:-


Martha and her creators thought of everything!!! WTG!!!

Also, w/ all of these punches, you’re left w/ other li’l embellies. W/ this punch, I’m left w/ 1 ¼” scallop circles. I don’t have a scallop punch so this is an added treat. W/ the butterfly one, you’ll have li’l butterflies. W/ the heart one --- hearts. W/ the star one --- stars. You get the idea! :-)

I have another idea in mind to show you, but this is going to take a li’l time to create. Stay tuned. :-)

Thursday, September 16, 2010

Anniversary Card

It’s our 32nd anniversary today. It's been 32 lonnnnnnng years. Just kiddin'. :-) My sweet hubby (next to my daughter) is the best thing/person that has ever come into my life. This is what my Sweetheart gave me:-


Can you spot the two li'l ladybugs on the flowerpot? Cute, eh? :-)

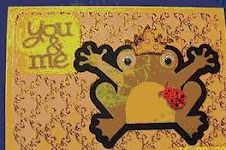
Here’s the card I made for him:-


You can click on the pix to see larger images. :-)


RECIPE:-

Tools/Items:-
Cricut Expression
Cricut Design Studio
Cricut
Cartridges (see below)
Martha Stewart punch – Quilted border; Ladybug
Glue (regular, Glue Glider Pro & Zig Two-Way for small items)
Corner Rounder
Patterned Paper
Cardstock
Stickles – Candy Cane, Gold
Popdots
Googly eyes
Seed beads

Cricut Cartridges used:-
Paisley – frog prince; shadow; eyes; belly; crown
Sweethearts – Happy Anniversary; Sweetheart; You & Me; xoxo’s

Because my hubby is my “Prince”, it only seemed natural to choose the “Frog Prince” from the "Paisley" cartridge, for his card. Because I’m his “Ladybug”, I’m sitting on top of him. Hence, “You & Me”. :-) I stickled both the crown and myself (Ladybug). :-)

Used the MS “Quilted” border punch for the inside of the card. The card base is 6” x 9”. I’ve included a cut file, for anyone who is interested.

http://www.mediafire.com/?l20smoqnz8h3zol

Wednesday, August 4, 2010

Sympathy Card

I made the following card for my Sister-in-Law, who just lost her brother. (RIP, dear Brian)
This was made w/ a “twist”, as I utilized some Anaglypta wallpaper that I had. When I first looked at the border (below), I immediately saw a beautiful tail for a bird. If you click on the pic, it will enlarge and you can see the detail in the different style of embossing. I used another piece, which resembled feathers, for the body of the bird.


RECIPE:-

Tools/Items:-Cricut Expression
Cricut Design Studio
Cricut Cartridges (see below)
Glue (regular & Zig Two-Way for small items)
Patterned Paper
Anaglypta Wallpaper
Cardstock
Ribbon
Martha Stewart corner/border punch (Quilted)
Rubber Stamp – “Thinking of You”

Cricut Cartridges used:-

Beyond Birthdays – dove
Cindy Loo – frame w/ swirl
Jasmine – “With Sympathy”
Sentimentals – envelope, in dove’s mouth

The sentiment is computer-generated.

Sympathy cards, to me, are supposed to be minimal, but tasteful --- w/ not too much glitz. When I spotted the Anaglypta paper, the whole card just too flight (no pun intended). I used Martha’s Punch around the Page for a background for the dove, in flight, adding a li’l envelope, depicting "sending a message".

I used Design Studio to be able to skew the frame, inside the card, to the size I needed. It was great to be able to stretch/size the swirl to fit the stretched image. This can also be achieved on the Cricut Gypsy. Wasn’t sure whether the sentiment (With Sympathy) from “Jasmine” would rip, because it was so tiny, but I think one of my angels was w/ me, whilst I was creating this card. Everything just fell into place, nicely.

Thanks for looking. Hopefully, you won’t have to make too many Sympathy cards but, just in case you do, you are more than welcome to scraplift mine. :-)

FeedJit Live Traffic Feed

Thank you for visiting ladybug

Thank you for visiting ladybug

Birdie thank you

Birdie thank you